Packaging & Publishing
Once you've built your desktop extractor, you'll want to create installers that users can easily download and install.
This guide shows you how to package your app for different operating systems and distribute it to users.
Creating an Installer for Your Current OS
To create an installer for your operating system, run the following command in your project's root directory:
npm run package
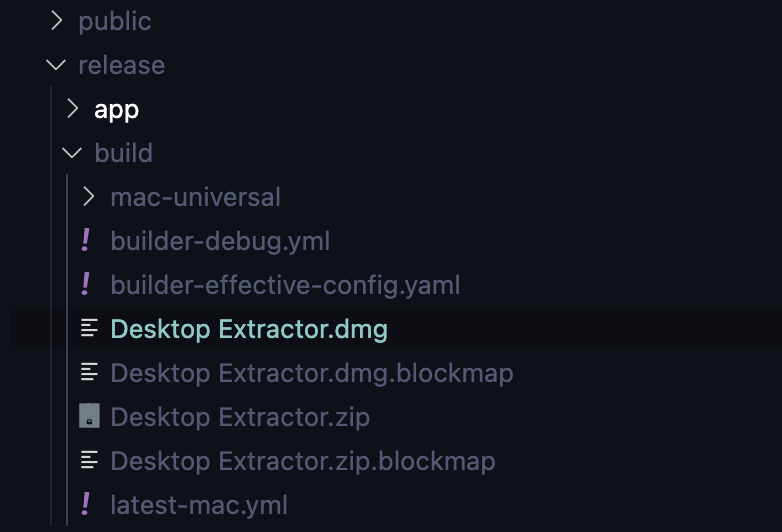
After the command completes, you can find the installer for your OS in the release/build folder.
Resolving Windows Build Errors
On Windows, if you encounter the "resource busy or locked" error:
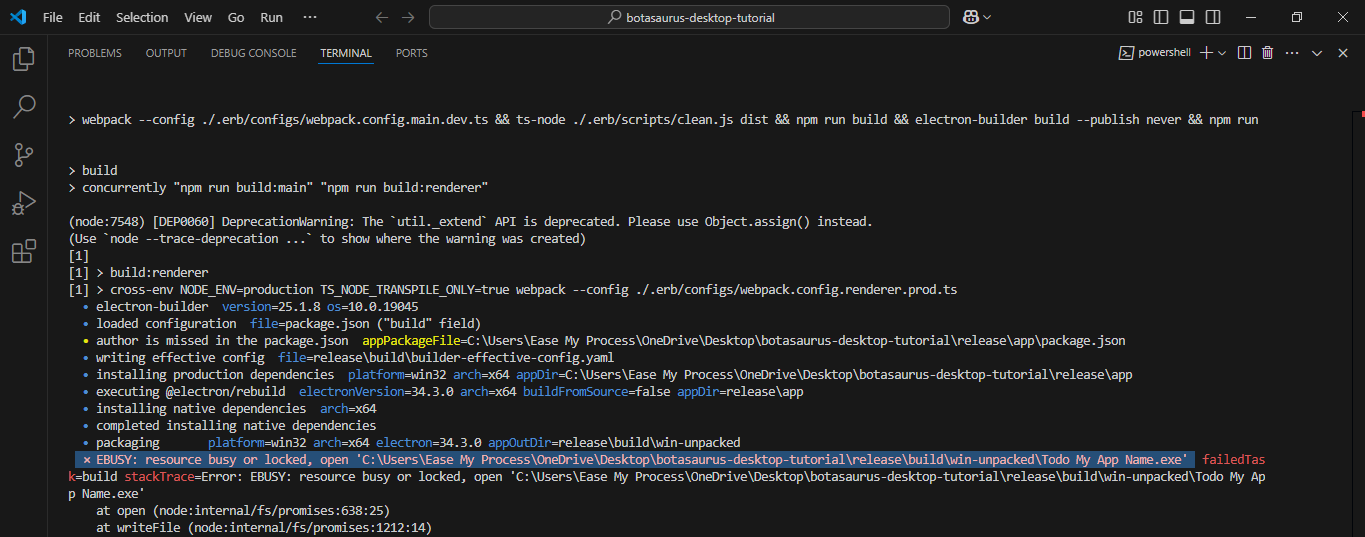
Follow these steps to resolve it:
- Run Command Prompt as Administrator
- Navigate to your project directory using
cd - Run the package command again:
npm run package
This will resolve the error and allow the installer to be created successfully.
Creating Installers for All Platforms
To reach users on all major operating systems, you'll need to create 4 installers:
.dmgfor macOS.exefor Windows.debfor Ubuntu/Debian.rpmfor Fedora/CentOS/Red Hat
Building each installer requires its native OS, which is challenging because you'd need access to multiple machines running different operating systems.
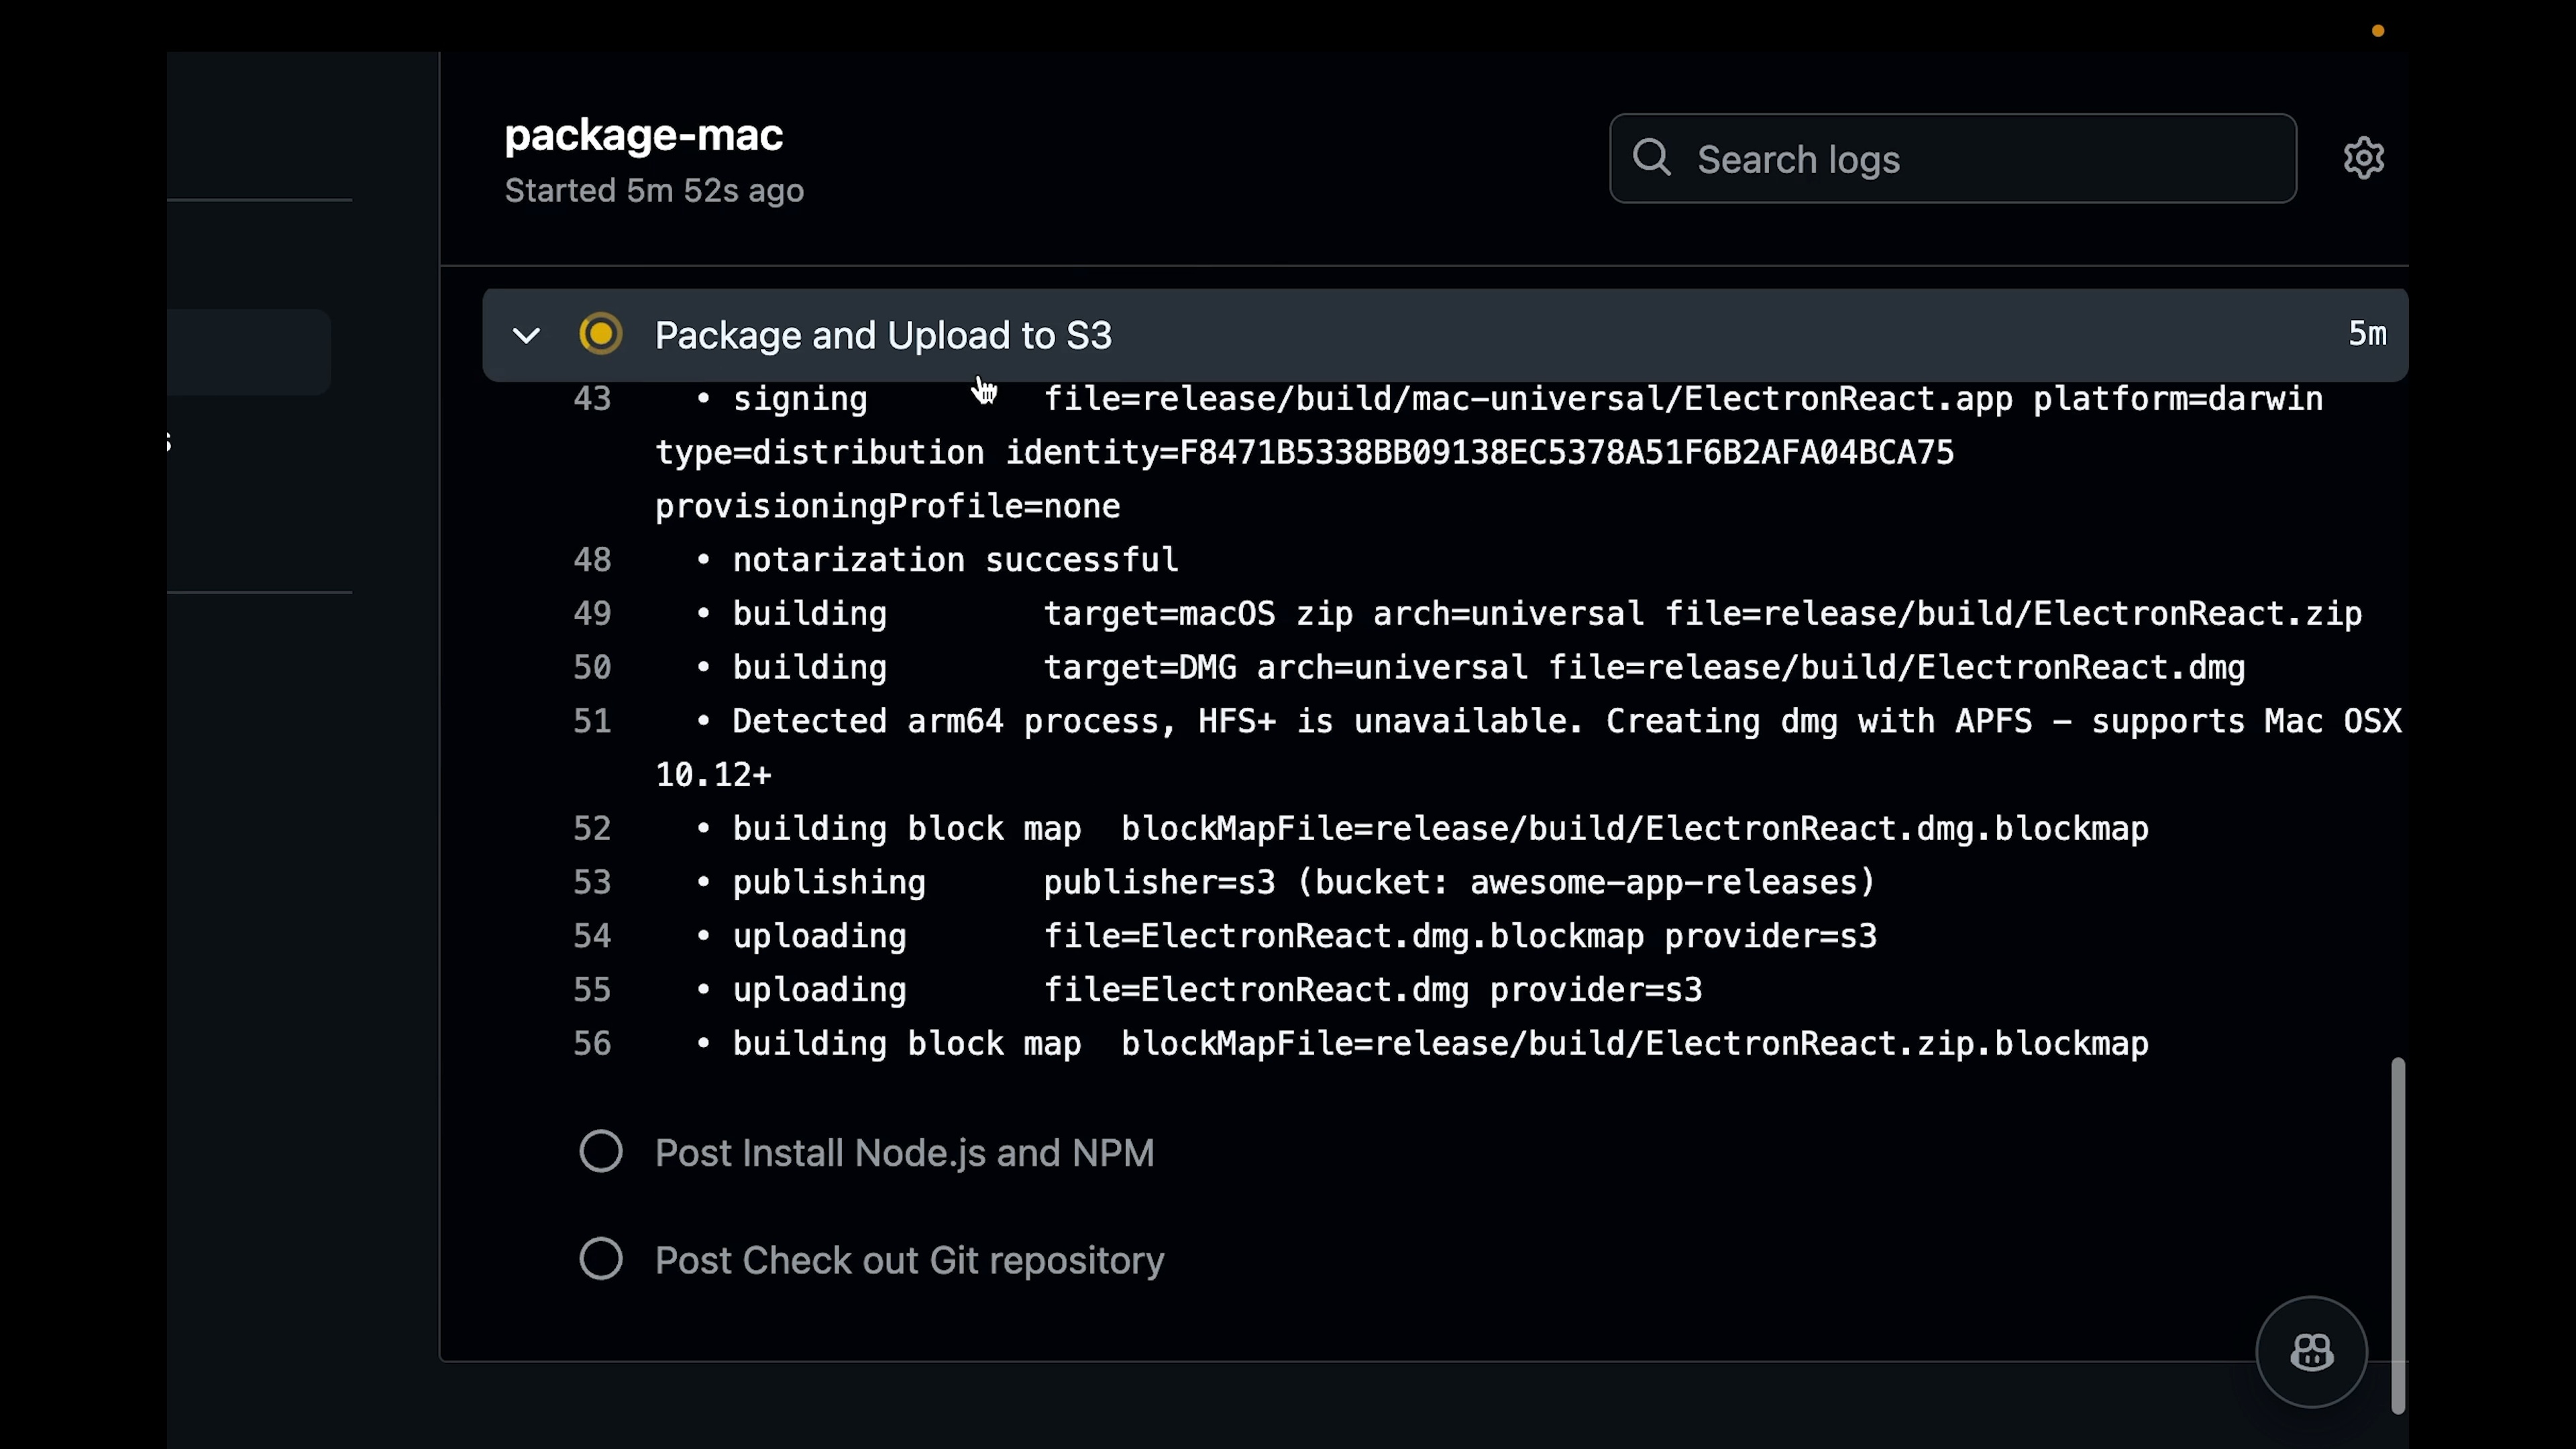
To solve this problem, we'll use GitHub Actions to automate the process. The workflow will:
- Build installers for all platforms in parallel
- Upload them to AWS S3 for distribution
- Trigger automatically whenever you push code to GitHub
Here's how to set it up:
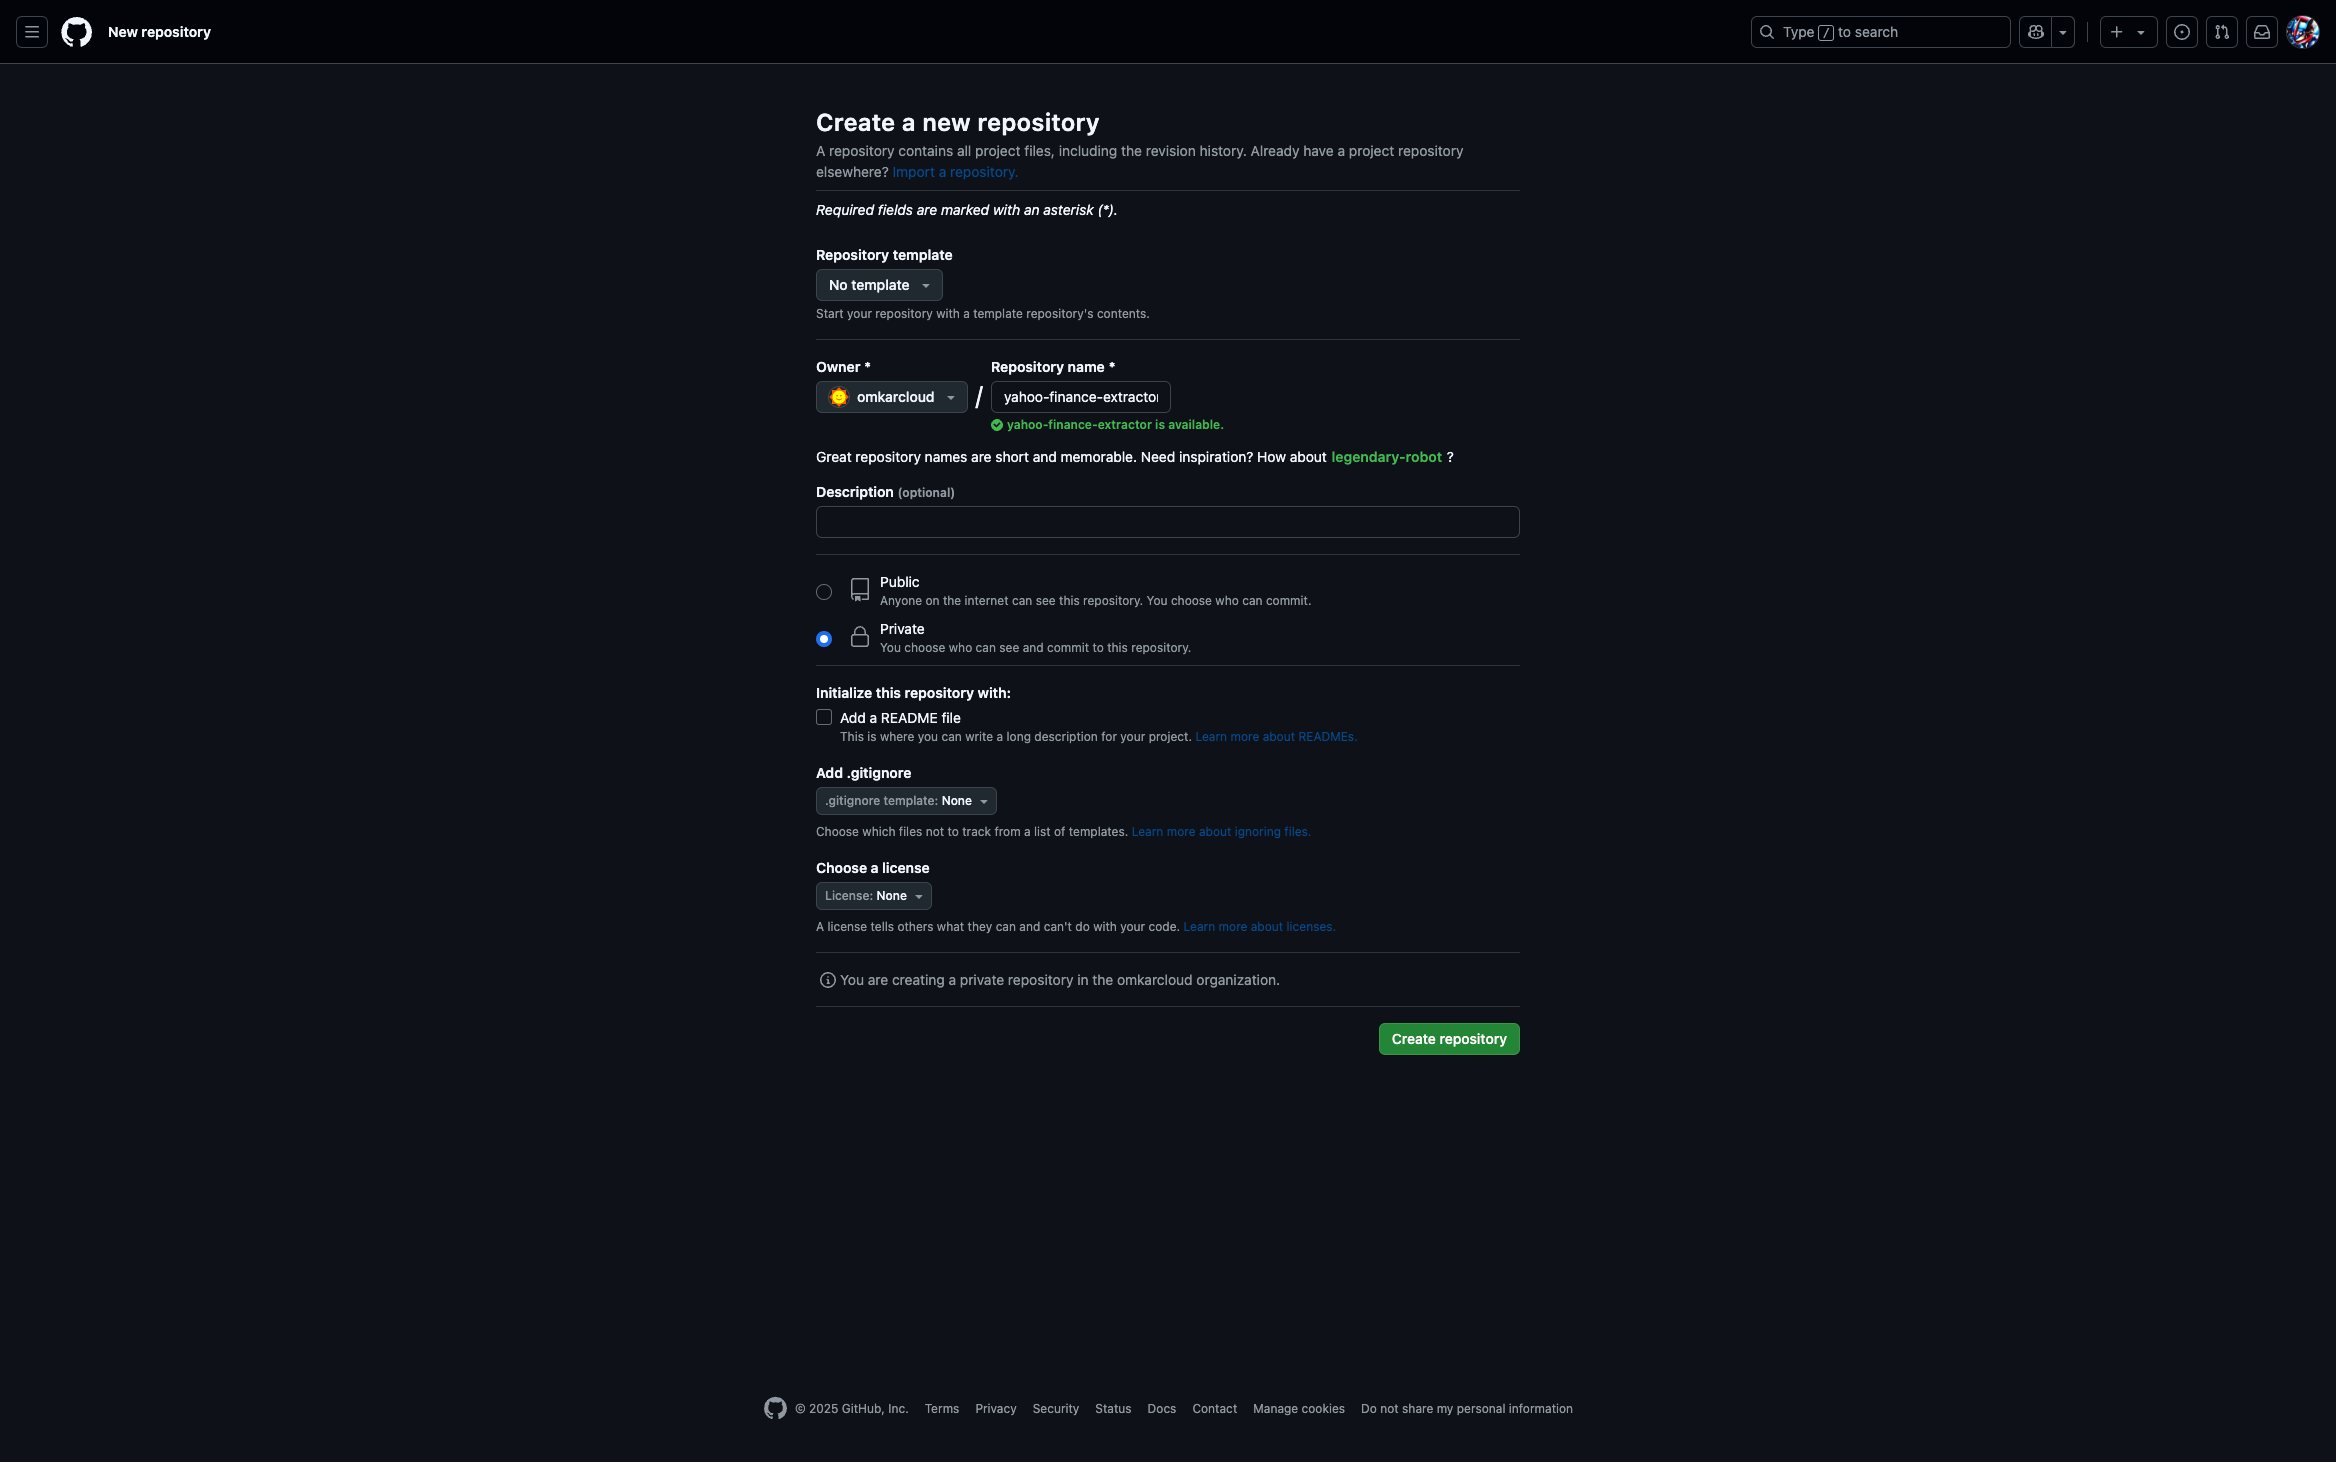
Step 1: GitHub Repository Setup
First, create a new repository on GitHub to host your application's source code.
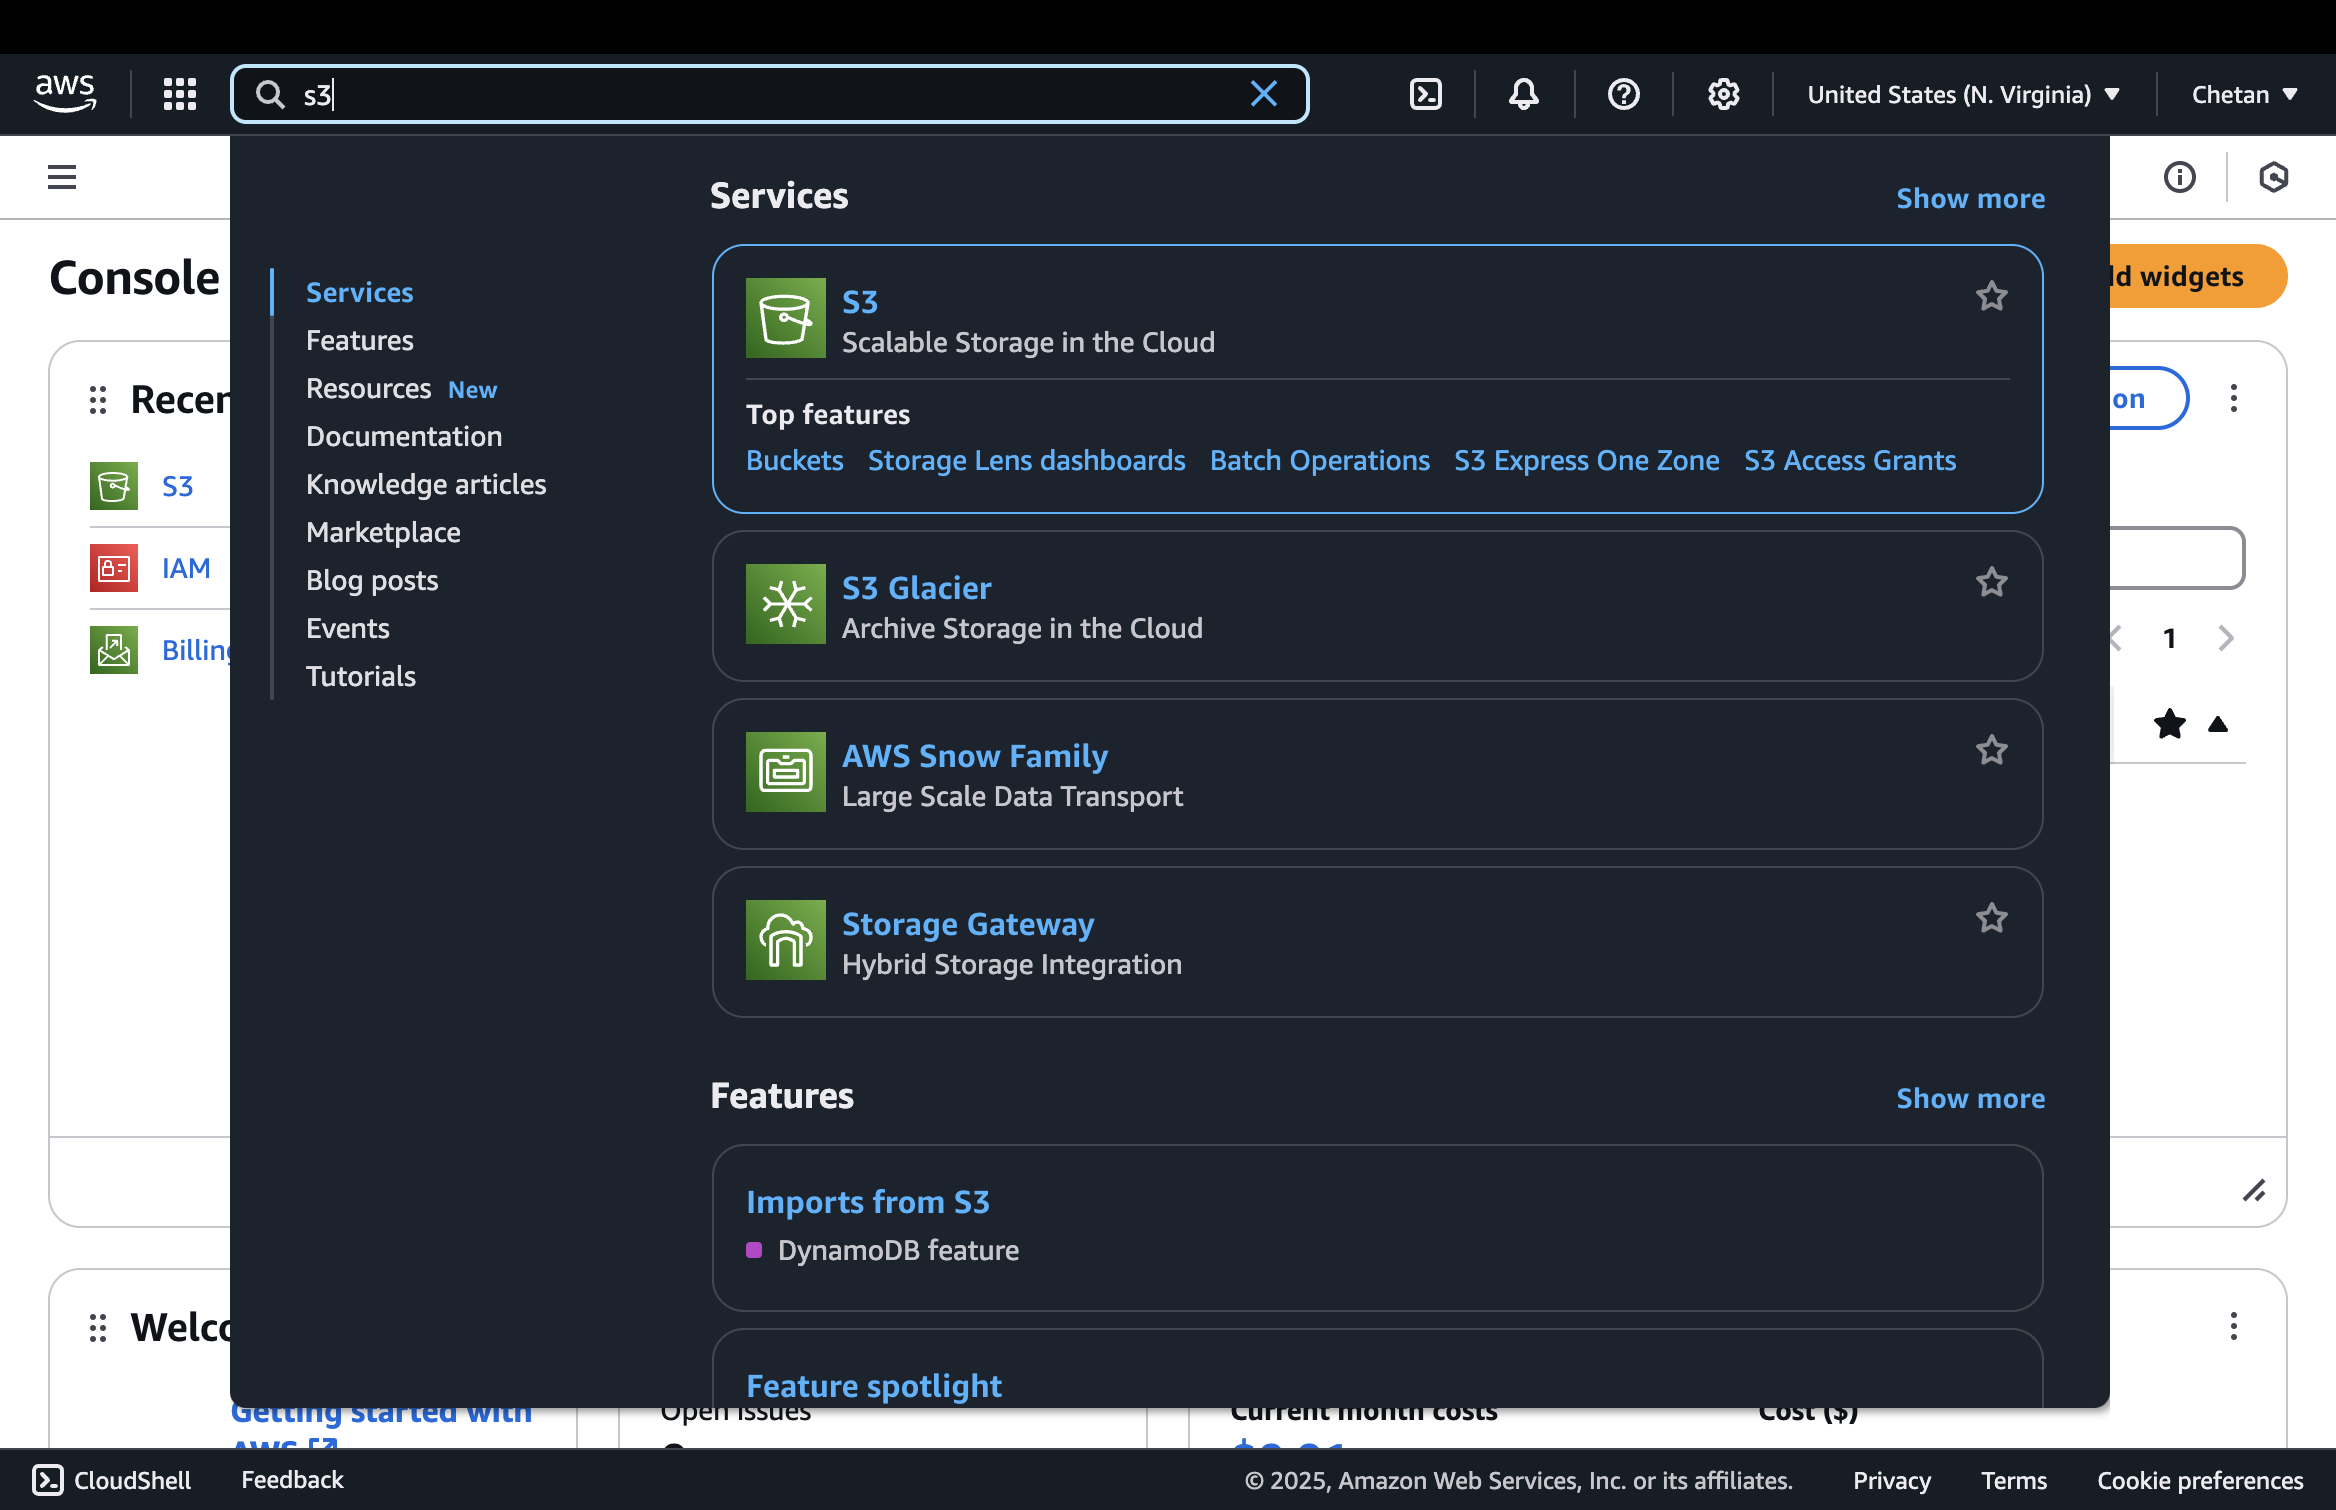
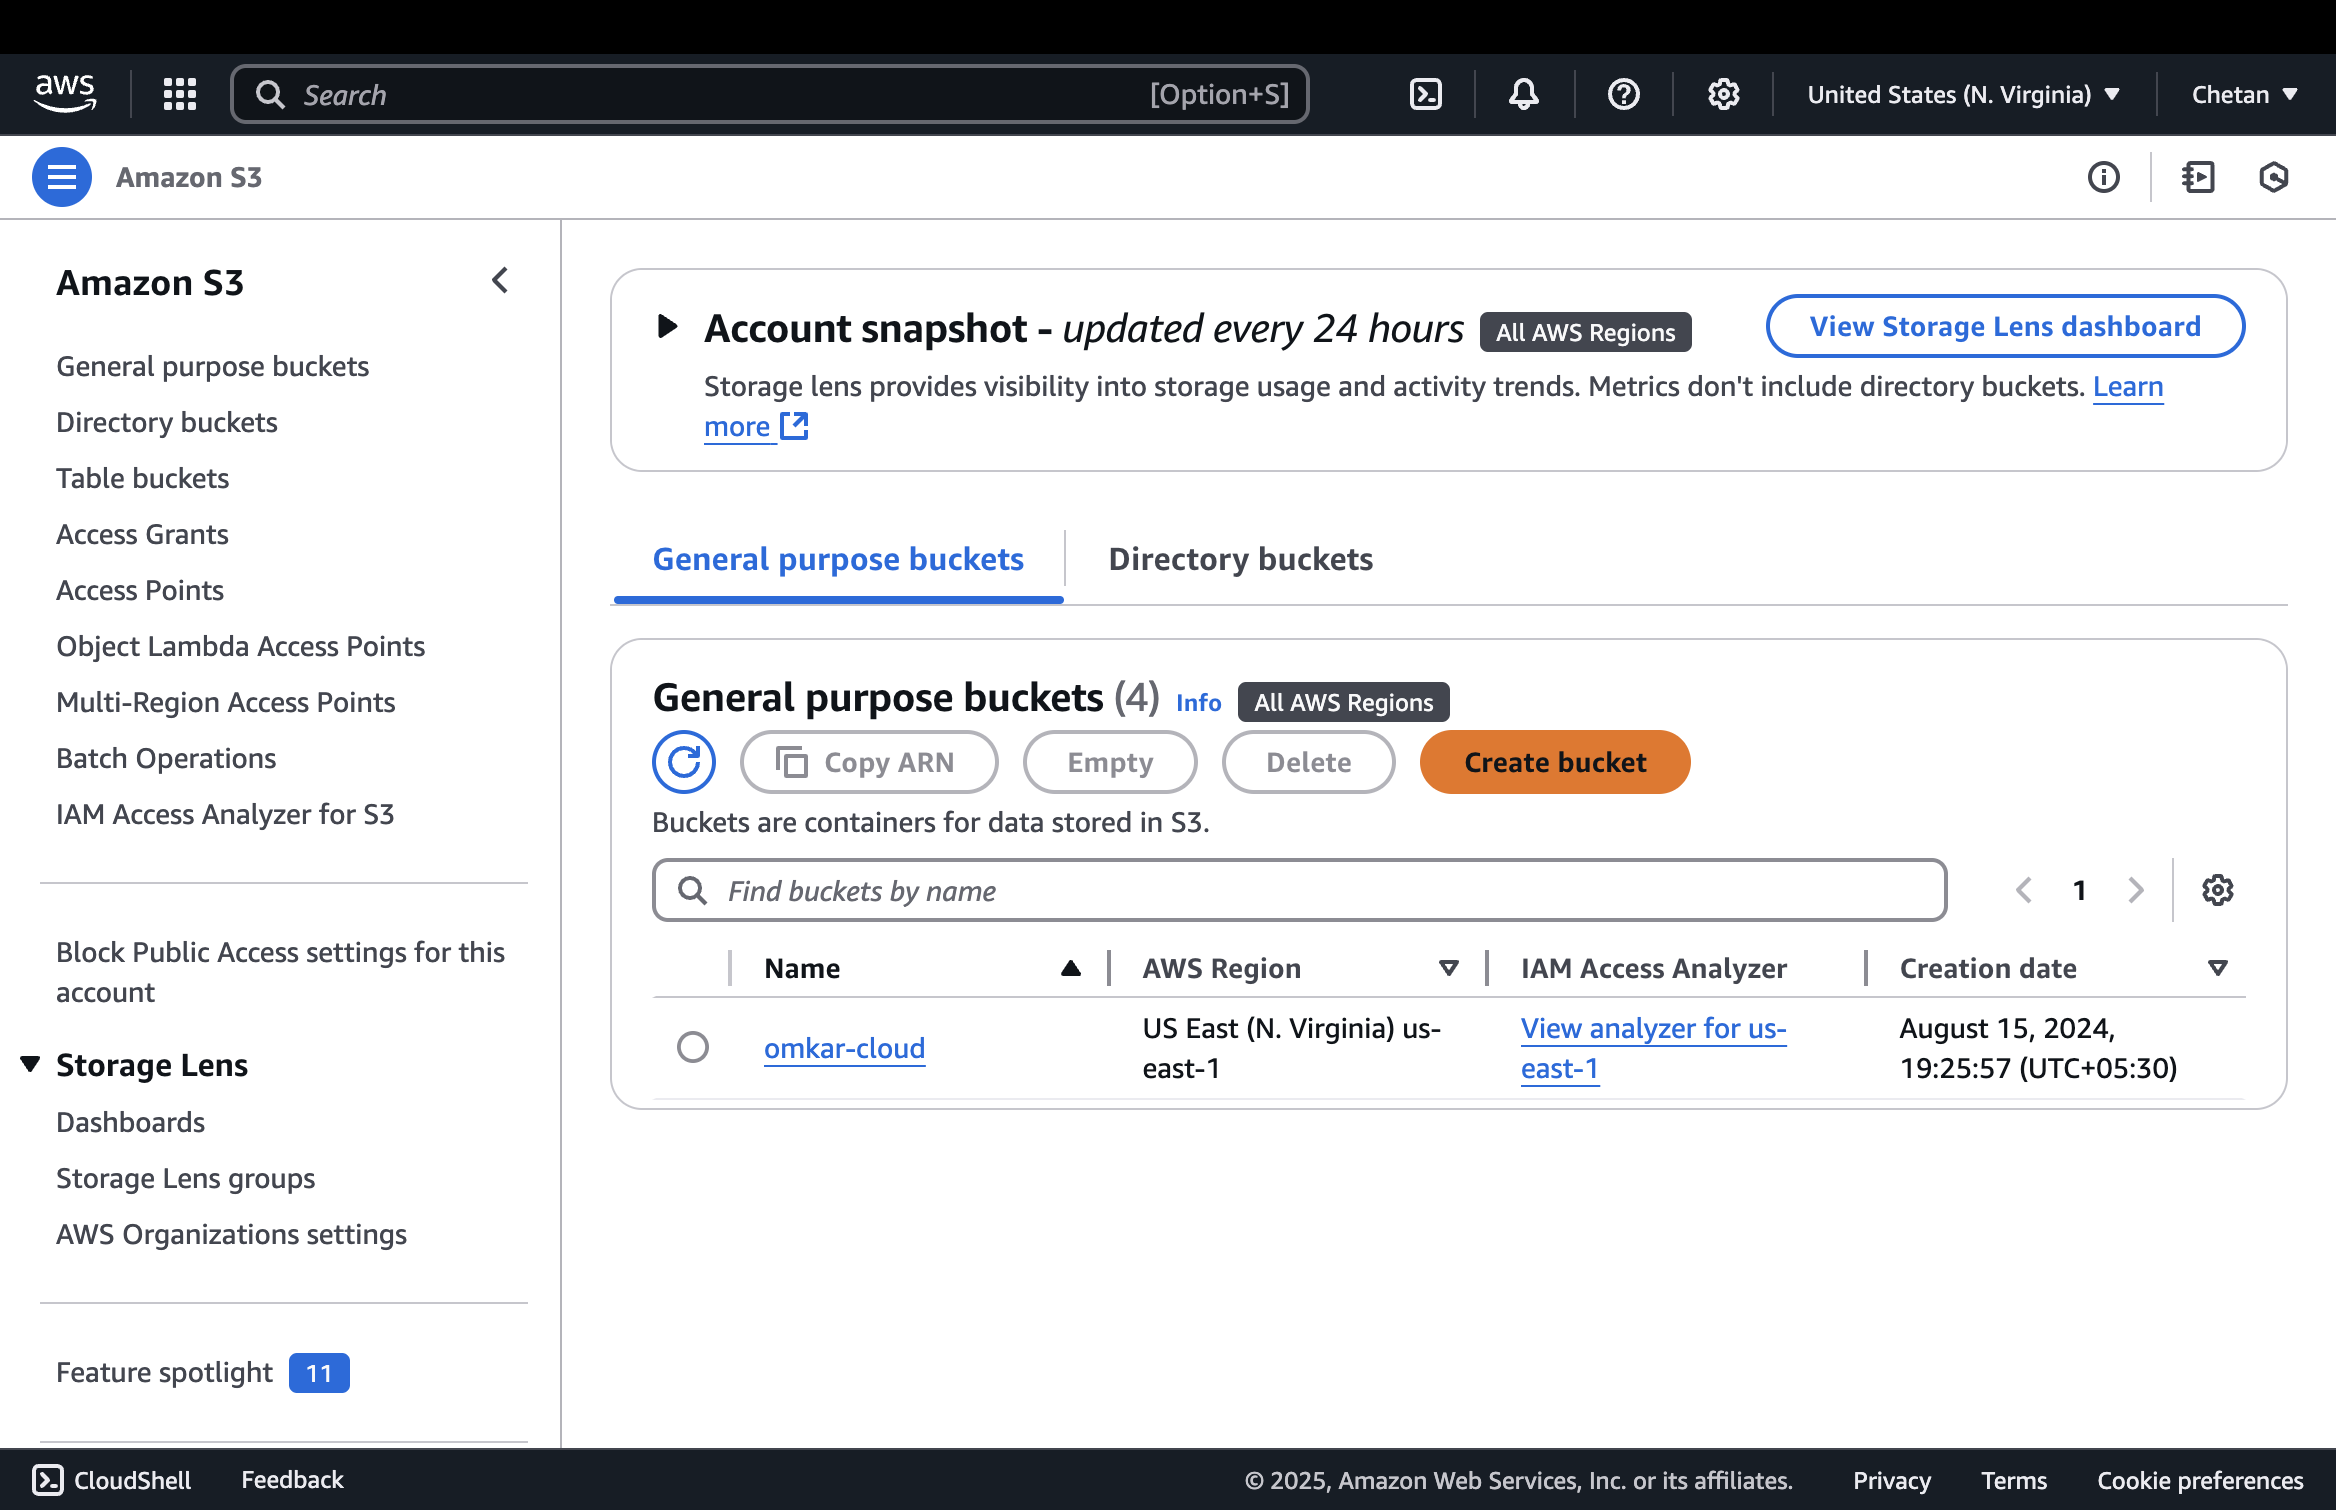
Step 2: Create an S3 Bucket
Next, set up an AWS S3 bucket to store your installers.
-
Open the AWS Console and navigate to S3.
-
Click Create bucket.
-
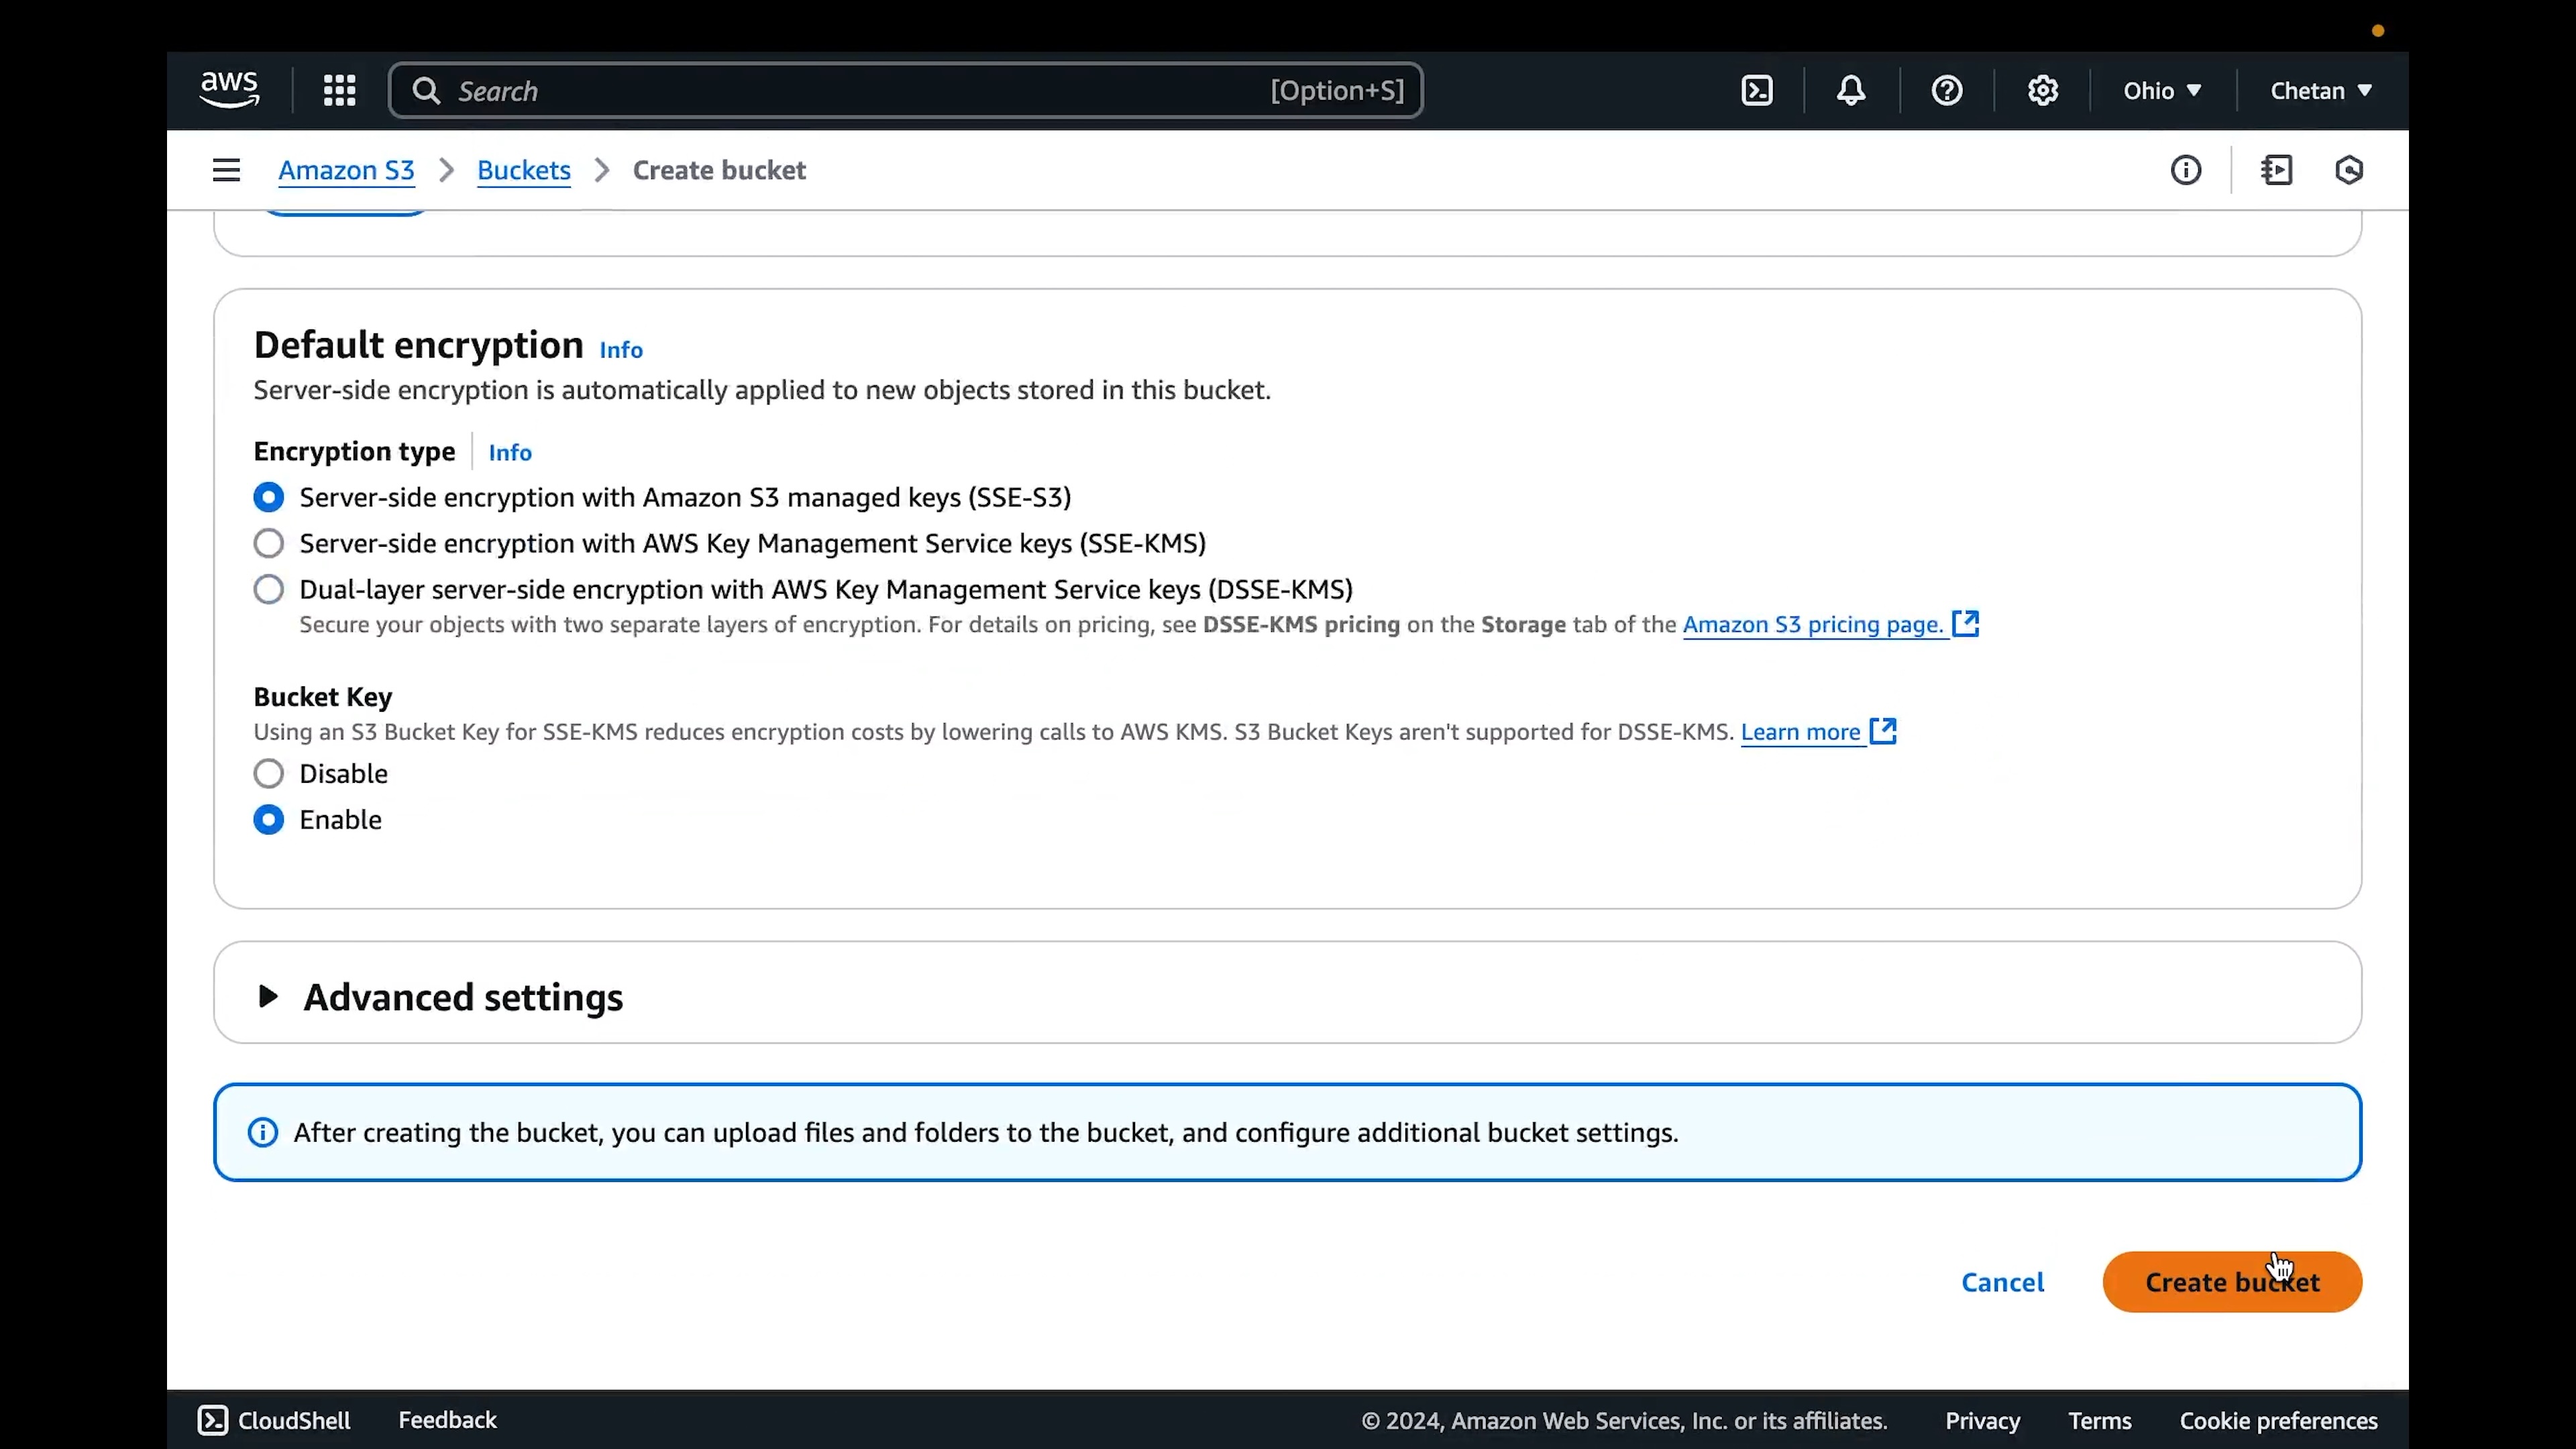
Configure the bucket with these settings:
- Bucket name: Enter a unique bucket name like
yahoo-finance-extractor. Conventionally, this name matches your product's name in kebab case. For example, if your product's name is "Yahoo Finance Extractor," your bucket name will beyahoo-finance-extractor. - Object Ownership: Select "ACLs enabled"
- Block Public Access settings for this bucket: Uncheck "Block all public access"
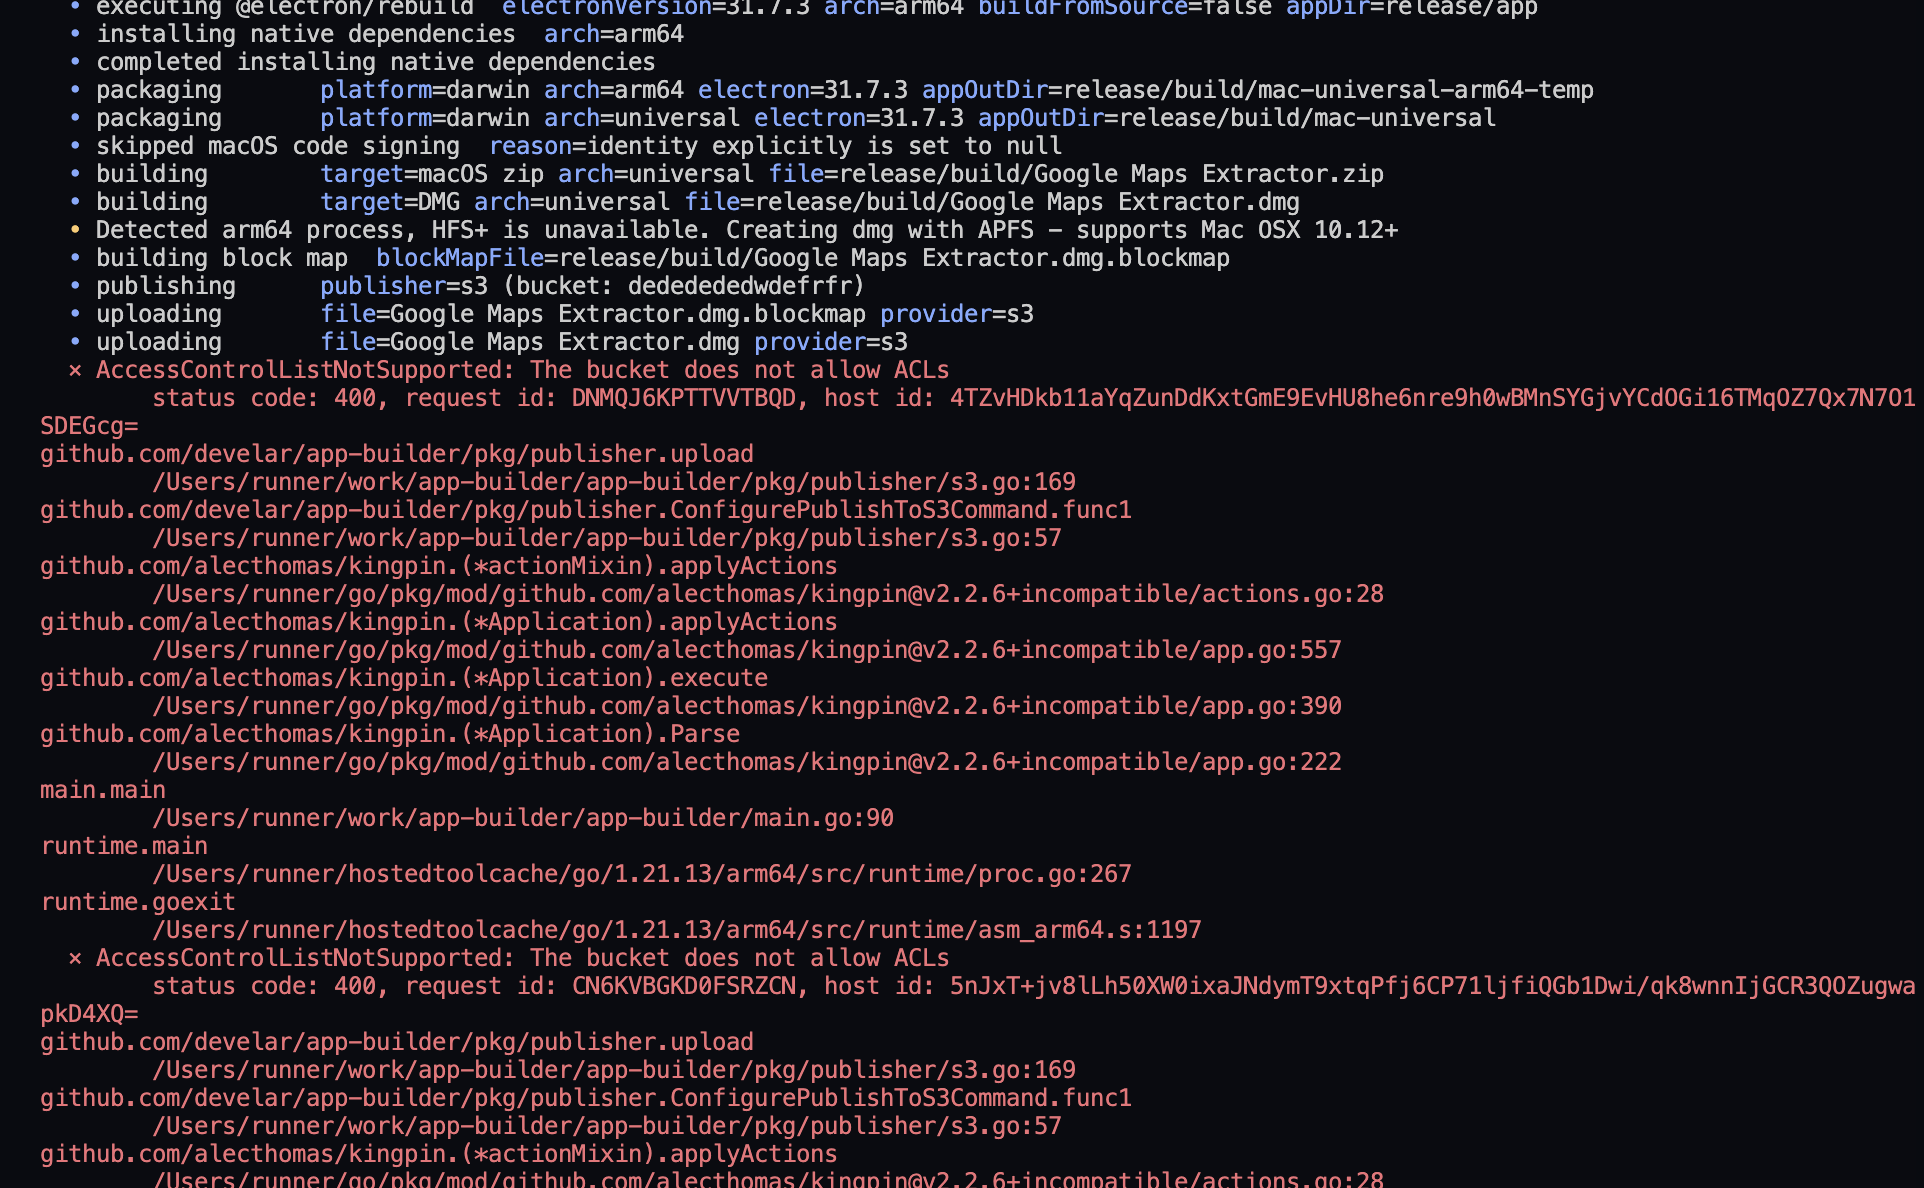
ImportantEnsure Object Ownership is set to "ACLs enabled". Otherwise, Electron Builder will fail with "The Bucket does not allow ACLs" error.
- Bucket name: Enter a unique bucket name like
-
Click Create bucket.
-
If you don't have an AWS access key and secret key, create them through the IAM service as described in the AWS documentation.
Step 3: Configure GitHub Secrets
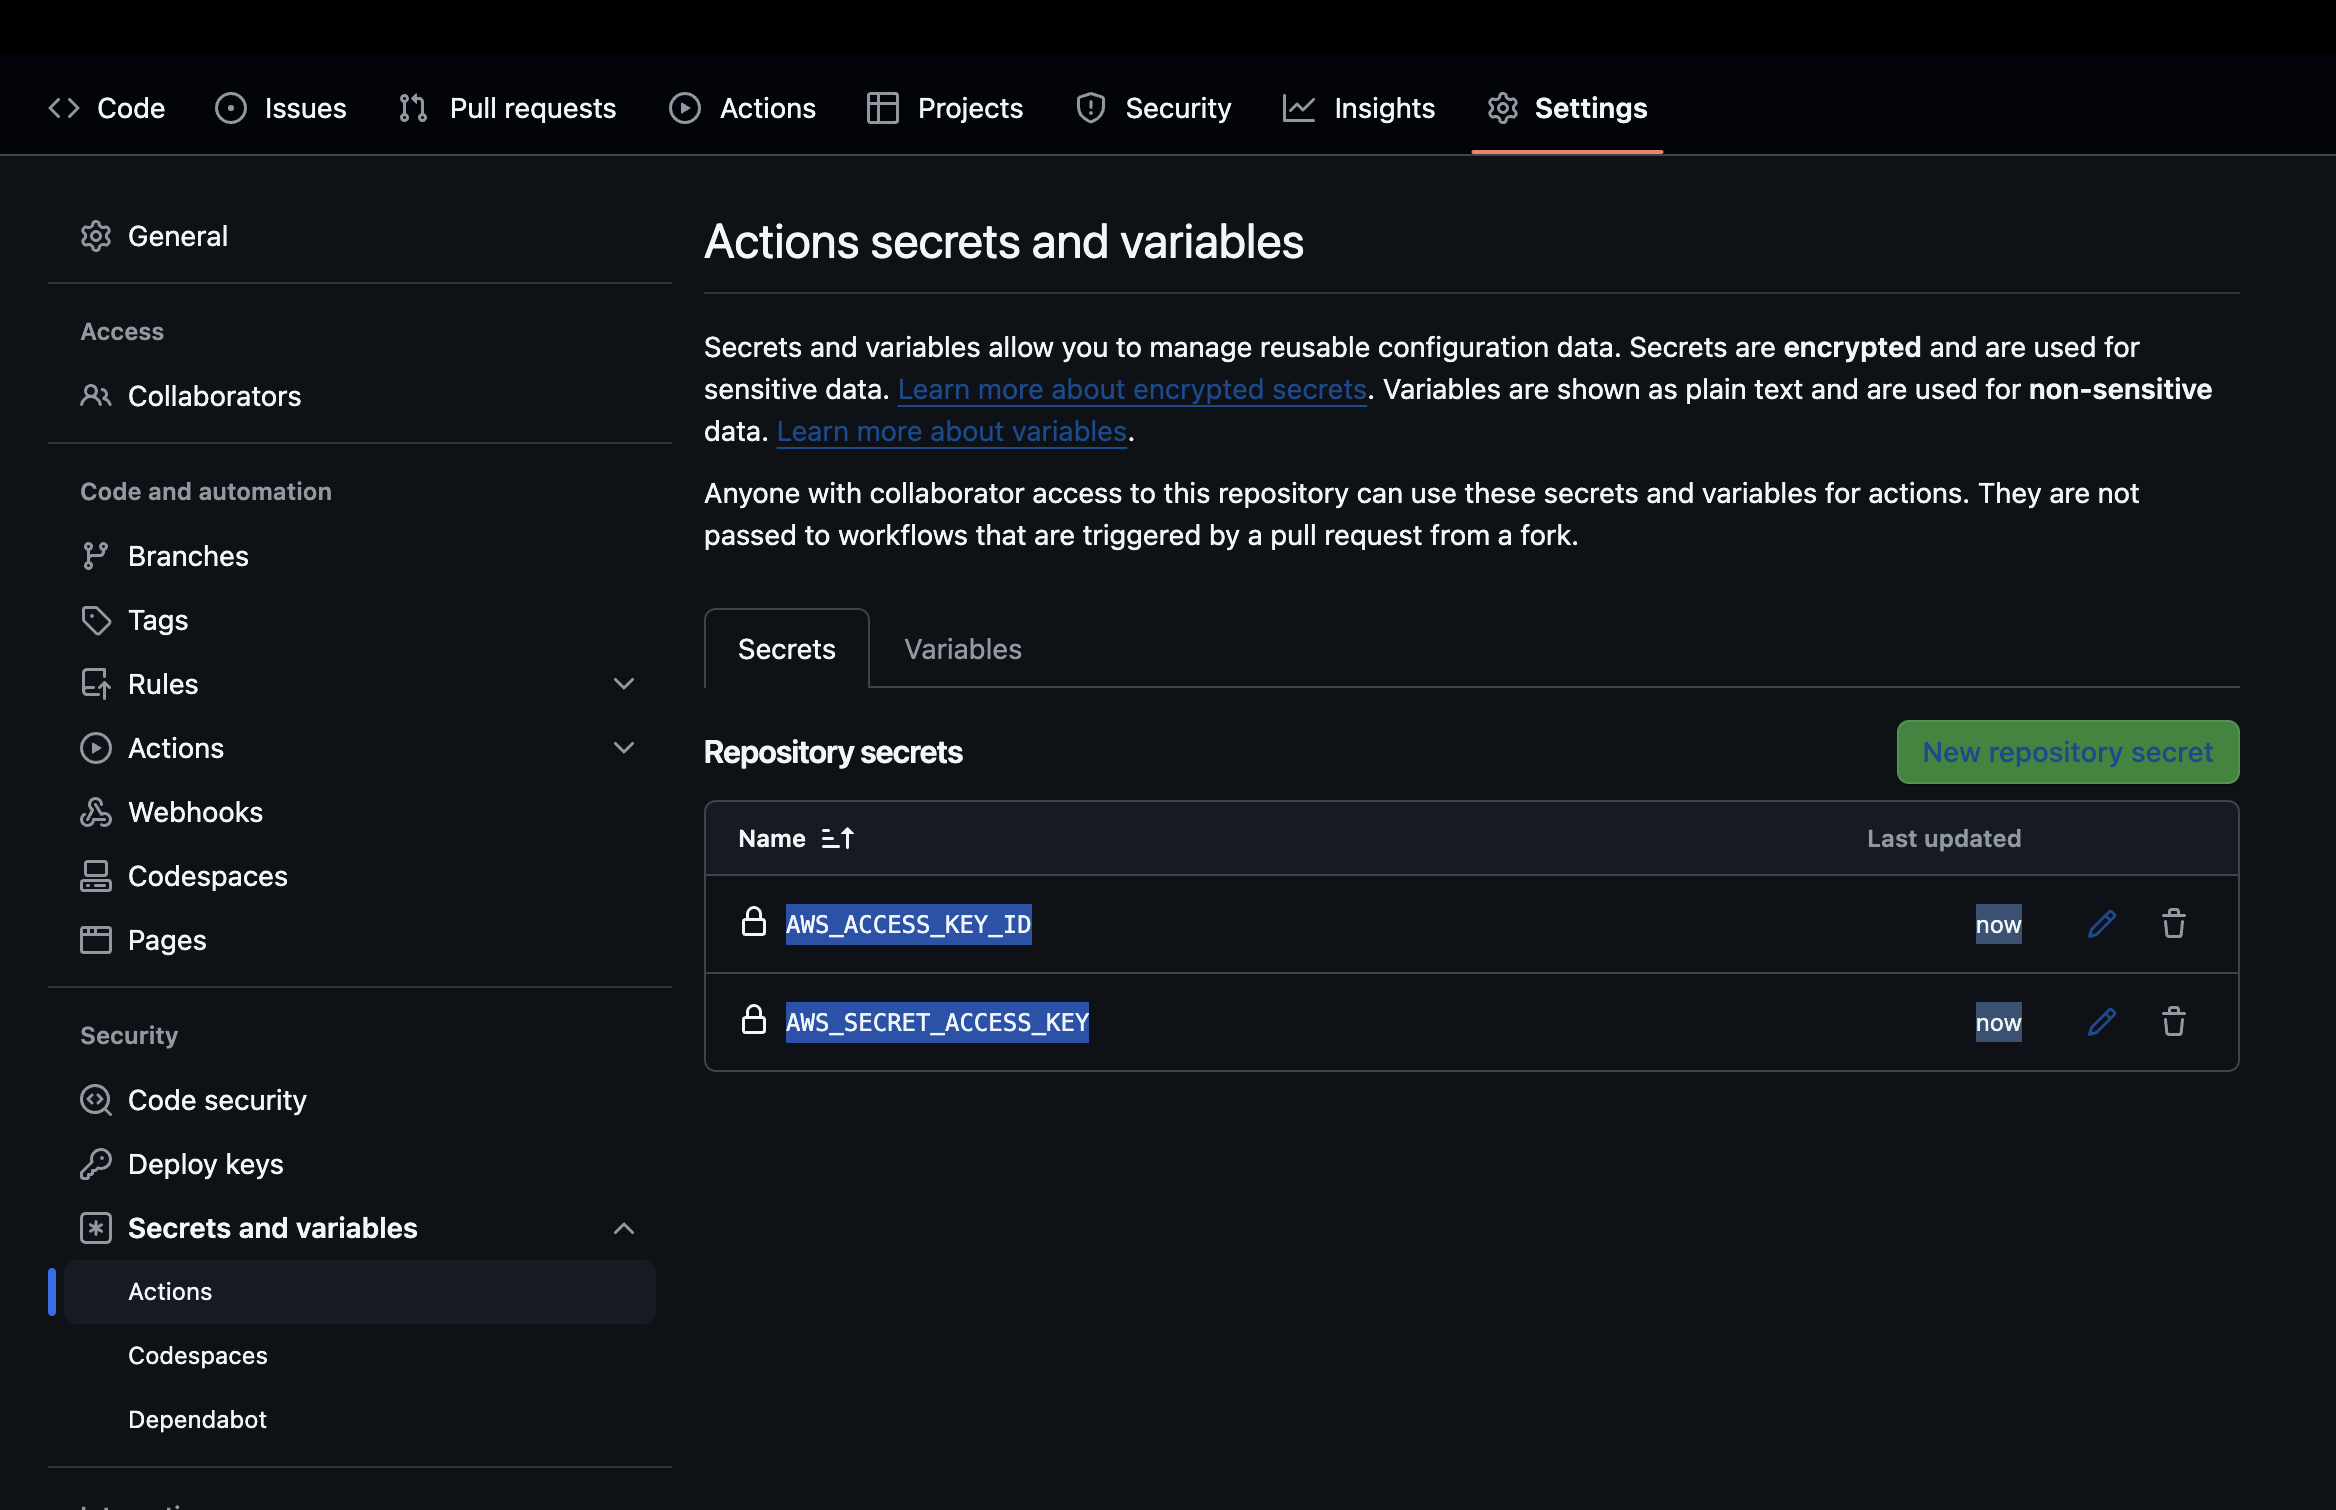
In your GitHub repository, navigate to Settings → Secrets and variables → Actions → Repository secrets and create the following secrets:
AWS_ACCESS_KEY_ID            # Your AWS access key
AWS_SECRET_ACCESS_KEY        # Your AWS secret key
Step 4: Configure Electron Builder
In your project's package.json file, add the following to the build section:
"build": {
  "publish": {
    "provider": "s3",
    "bucket": "your-bucket-name"
  }
}
Replace your-bucket-name with the name of your S3 bucket.
Step 5: Deploy and Build
-
Push your code to GitHub.
-
Go to the repository's Actions tab to see the build process in action.
-
After a successful build, the installer files will be available in your S3 bucket. These files are publicly accessible in the following format:
https://<your-bucket-name>.s3.amazonaws.com/<your-product-name>.<extension>
Example URLs:
- https://yahoo-finance-extractor.s3.amazonaws.com/Yahoo+Finance+Extractor.dmg
- https://yahoo-finance-extractor.s3.amazonaws.com/Yahoo+Finance+Extractor.exe
- https://yahoo-finance-extractor.s3.amazonaws.com/Yahoo+Finance+Extractor.deb
- https://yahoo-finance-extractor.s3.amazonaws.com/Yahoo+Finance+Extractor.rpm
✅ You're Ready to Distribute
With this automated pipeline, you can package and publish your app across all major platforms with just a push of a commit.